Lesson 11: Version control with Git
(c) 2016 Justin Bois and Axel Müller. This work is licensed under a Creative Commons Attribution License CC-BY 4.0. All code contained herein is licensed under an MIT license.
Parts of this lesson are based on a similar lesson from Software Carpentry, itself also licensed under a Creative Commons Attribution License CC-BY 4.0.
This lesson was generated from a Jupyter notebook. You can download the notebook here.
Keeping track of all of the changes in your project over time is good practice. How many times have you edited something in something you were writing and then wanted to go back and see what you had in the first place? Wouldn't it be great to know what changes you made and when you made them?
A version control system facilitates this process of keeping track of changes over time. Beyond that, it allows multiple people to collaborate and work on parts of the same project simultaneously.
There are many version control systems. The four most prominent, in order of age, are CVS, Subversion, Git, and Mercurial (the first version of Git was released about two weeks before Mercurial, so they are really the same age). Today, Git dominates.
Git was developed by Linus Torvalds, the person who developed the Linux operating system. He named Linux after himself, and he decided to also name Git after himself ("git" is British slang for a stupid person). Try typing
man git
and read what the NAME of the software is.
Using Git as a version control system allows communication with remote repositories such as GitHub or Bitbucket. Both services provide univesity-affiliated people with a .edu email address with perks that include a number of private repositories. We will use GitHub for our bootcamp, and you should already have set up an account.
Remote repositories are not only a great way for keeping your data safe. They are also an excellent tool for collaboration since Git allows multiple users to edit the shared files simultaneously and has a method to merge changes afterwards. Public repositories can also serve as a vehicle to distribute code (or other files).
You can find more information about Git here. It is well documented. Here is an excellent one-page cheatsheet (some lucky bootcamp attendees get a free hardcopy!)
Let's get started. You all should have a version of Git installed on your computers. Open the terminal and navigate into your ~/git directory.
Configuring Git
Since this is your first time you should configure Git. We will do it with --global flags, which means these specifications work for all of your repositories.
git config --global user.name "YOUR NAME"
git config --global user.email "YOUR EMAIL ADDRESS"
Git requires a text editor. You can specify Atom as your text editor if you like.
git config --global core.editor "atom --wait"
Git is very well documented and help is easily available. If you need to know more about config, for example, just enter:
git help configCloning Repositories
You have already cloned the bootcamp repository in the command line lesson. We'll practice that again here, clone one of the zillions of public repositories that are hosted on GitHub. We will clone a simple package, called insulter that will hurl Shakespearean insults at you.
git clone https://gist.github.com/3165396.git insulter
Note that the insulter package is now on your machine. You have a copy of it on your own hard drive. You do not need to be connected to the internet to use it.
Now, cd to insulter and you can start using it, thou wayward tickle-brained flap-dragon!
python insulter.pyPulling in changes
Actively developed repositories are constantly being updated. After you clone the repository, its authors may add or edit things in the repository. For you to get those changes, you need to fetch them and then merge them into what you have locally.
To fetch the updated repository, you guess it, you do:
git fetch
The result is stored in a hidden directory, .git/FETCH_HEAD. (Directories that begin with a . are hidden; you don't see them when you type ls.)
Now that there are changes, you would like to update your local repository. Provided you do not have any local edits, this is seamless. You just do
git merge FETCH_HEAD
Now your repository will be up to date.
A shortcut for the commands
git fetch
git merge FETCH_HEAD
run in success is
git pull
In practice, you will use this a lot, but, as you will see, we will use fetching and merging on a forked repository in the next lesson, so it can be useful.
Let's try doing this with the bootcamp repository. cd into ~/git/bootcamp/. Now, type
git pull
This will "pull" in any changes make to the repository. Throughout the bootcamp, we may need to update files in the repository.
Generally it is good practice to pull before you start working each day to make sure you pull in any updates your collaborators may have made.
Creating your own repository
Now, you will create your own repository for practice. We will call the repository na-utils, for "nucleic acid utilities." We'll start by adding the dnatorna module we wrote in the last lesson.
Only in rare circumstances would you not want to host your repository remotely, so we will take an easy path toward creating a repository using GitHub. Prior to the bootcamp, you all should have set up a GitHub account. Log in to GitHub, and you should see a page that looks something like this:
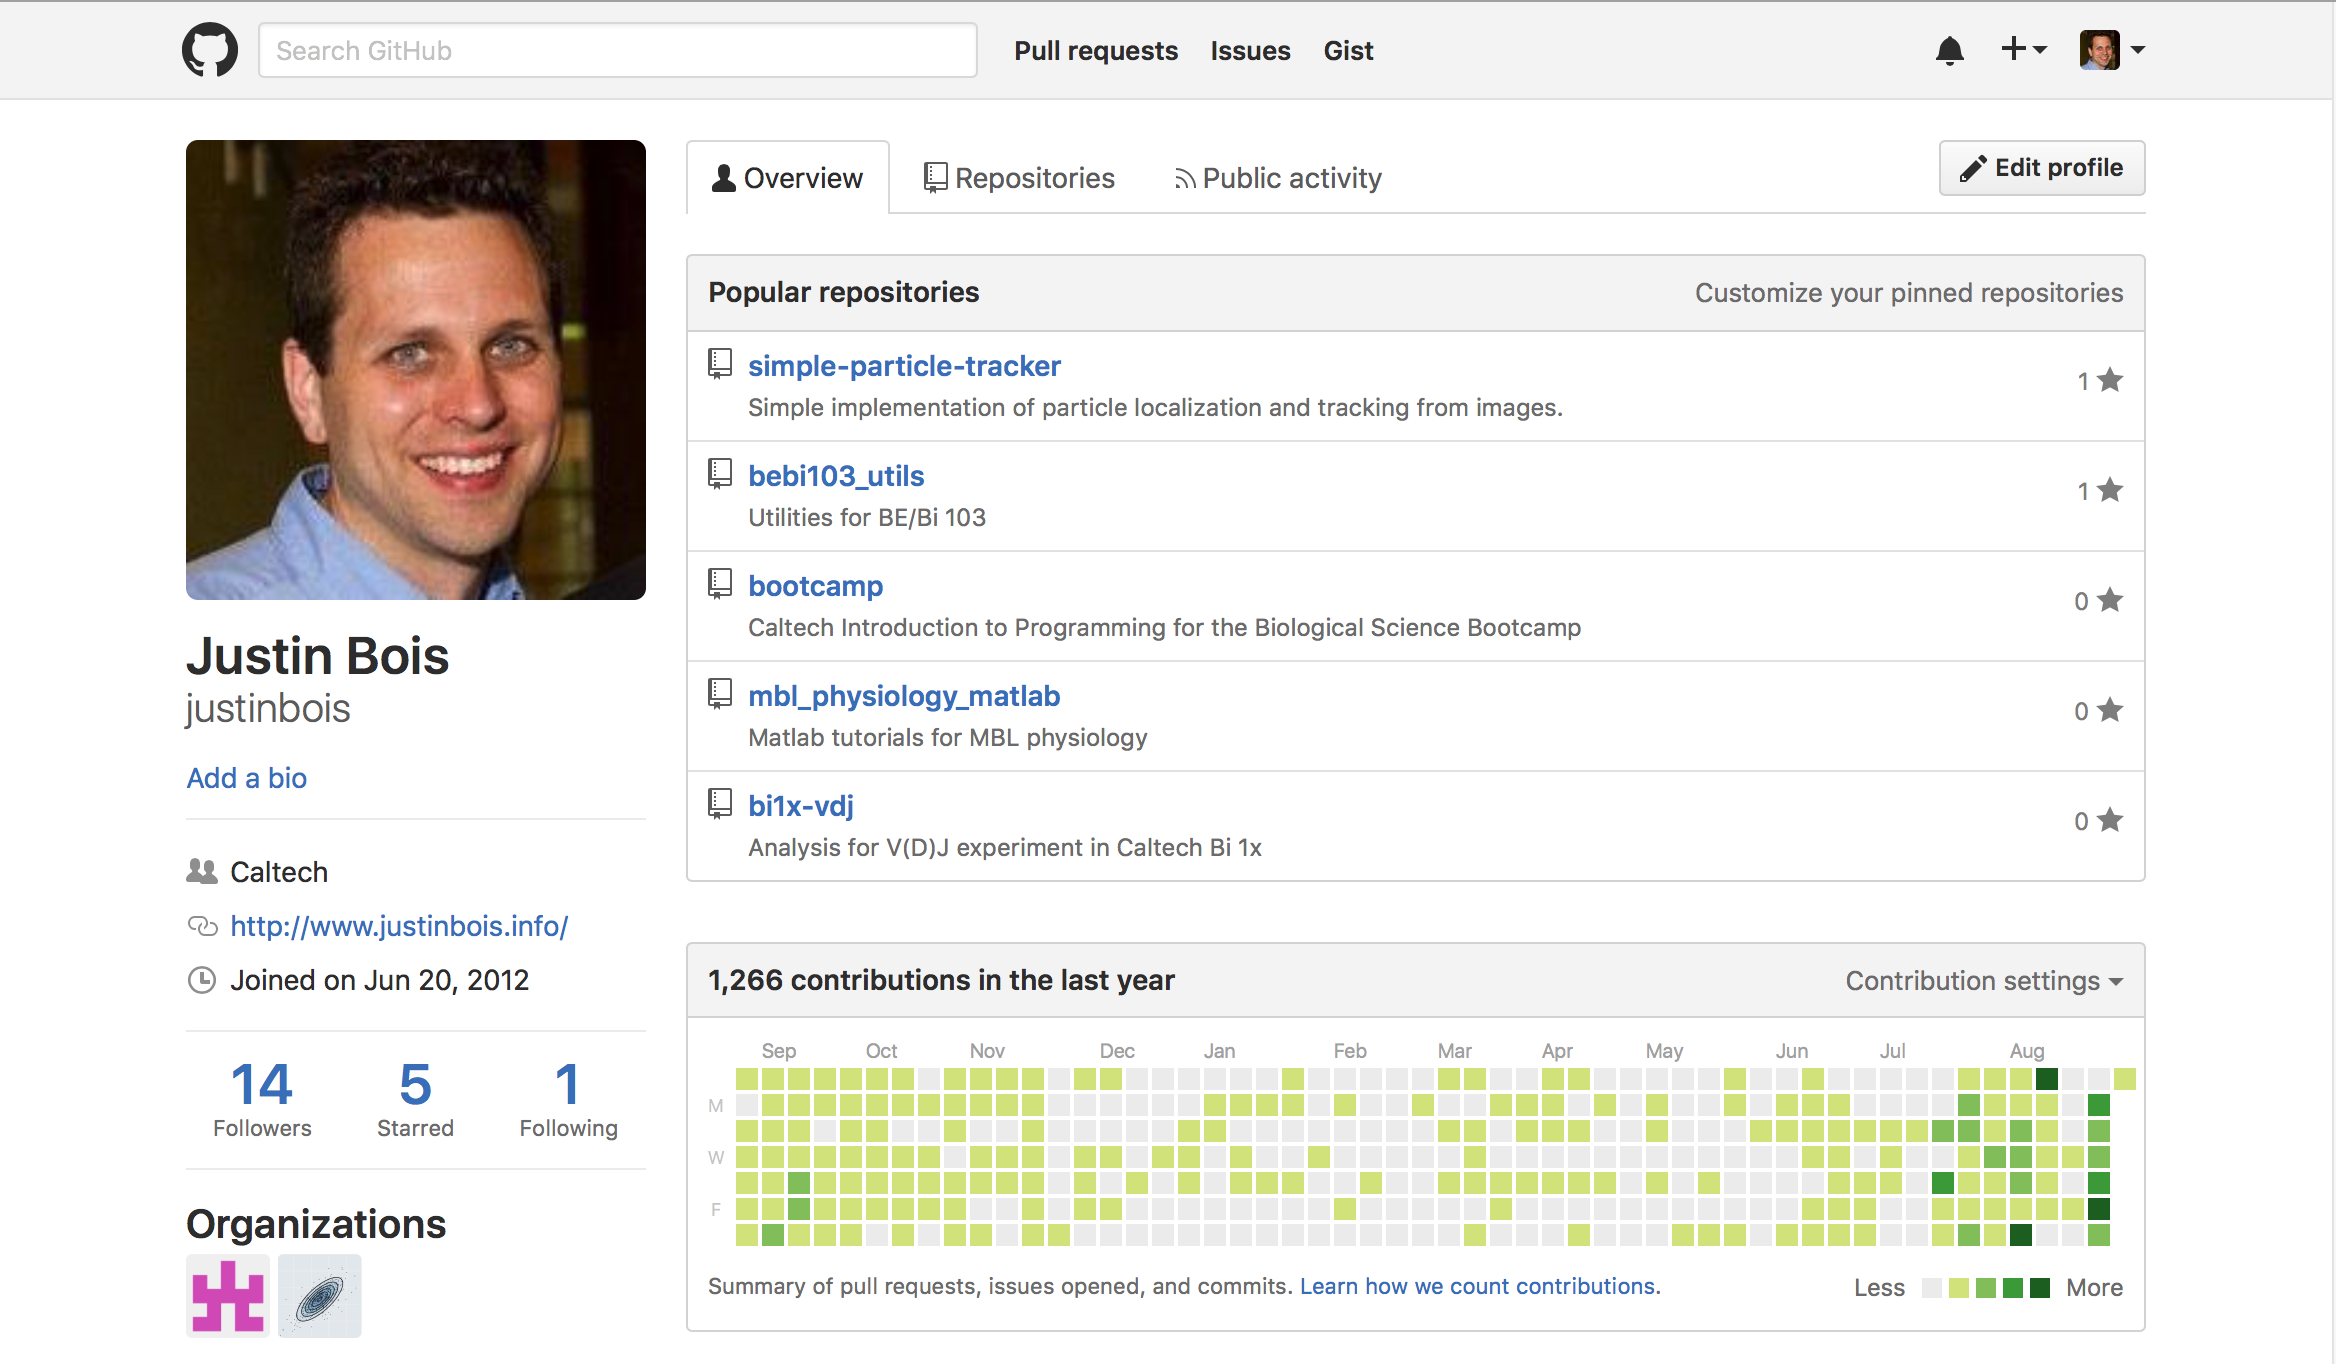
In the upper right corner, click on the "+" icon and select "New repository." You will then get a page that looks like this:
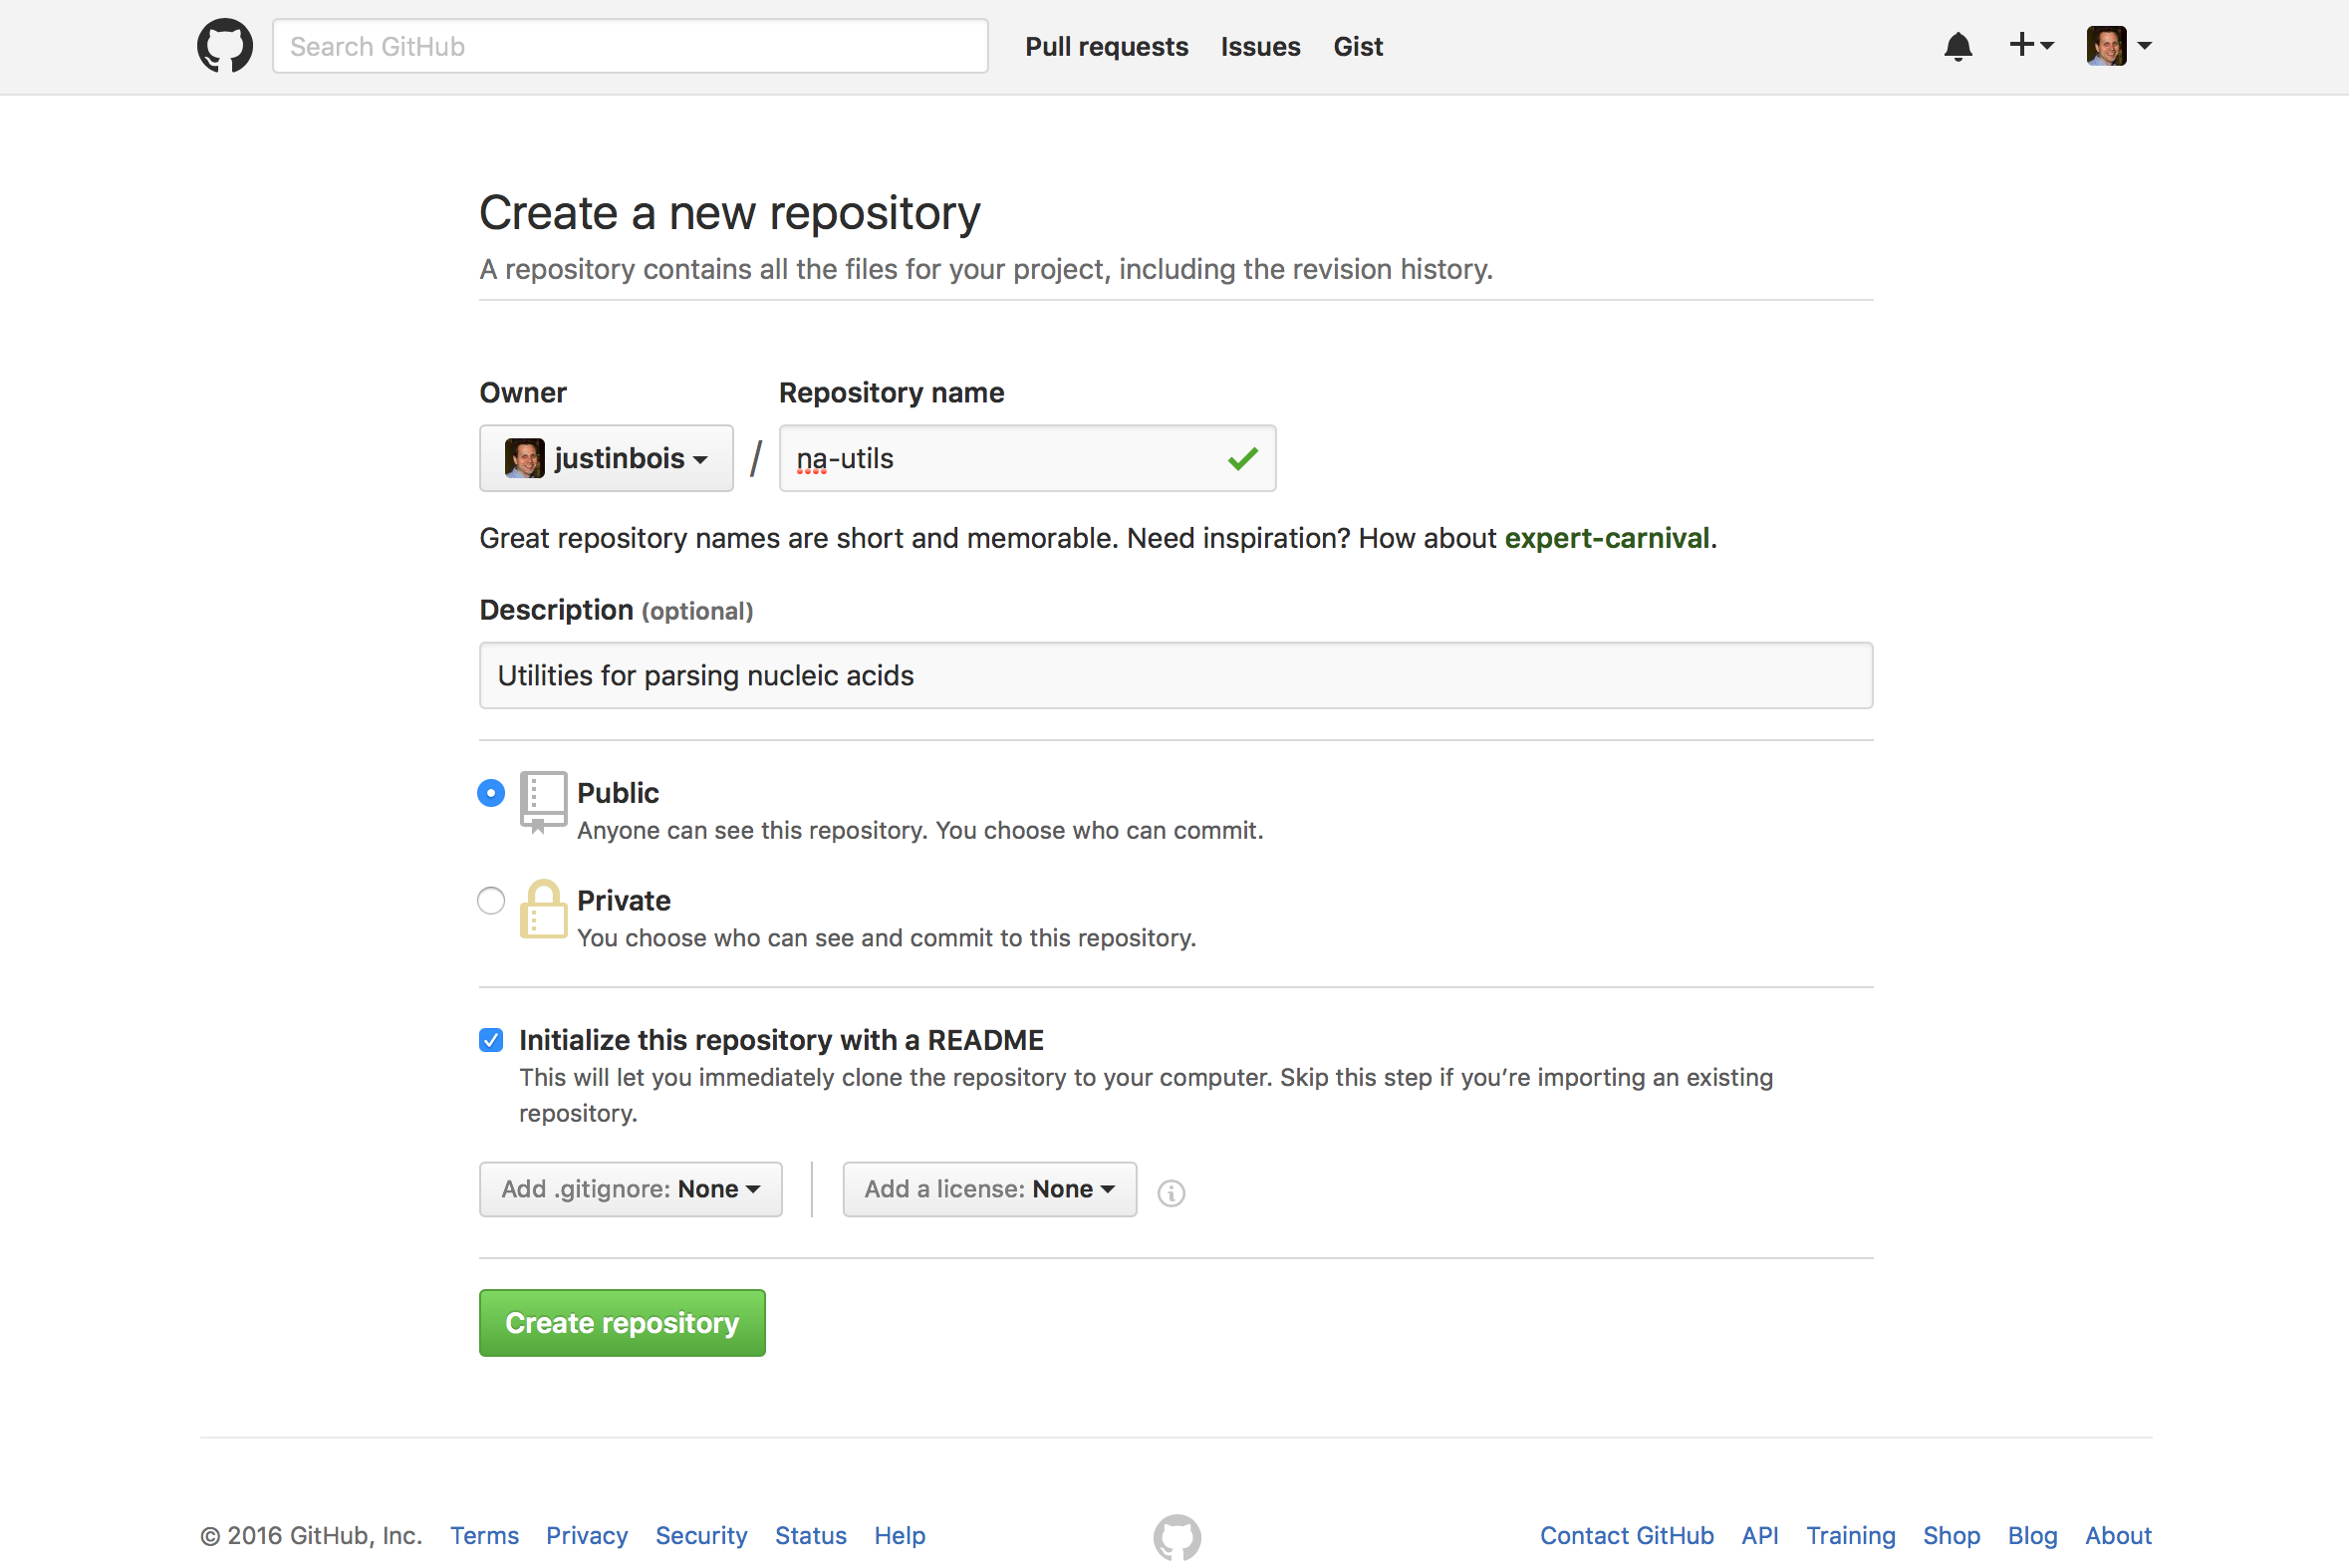
I called the new repository na-utils, and gave a little description. You can choose either private of public; if you are not an academic, you have to pay for private repositories. Public repositories can be viewed by anyone. I will choose public for this one.
I also checked the box to initialized the repository with a README. This is convenient because GitHub will set up the repository and populate it with a README file that you can generate right in your browser. After clicking "Create repository," you will get a page that looks like this:
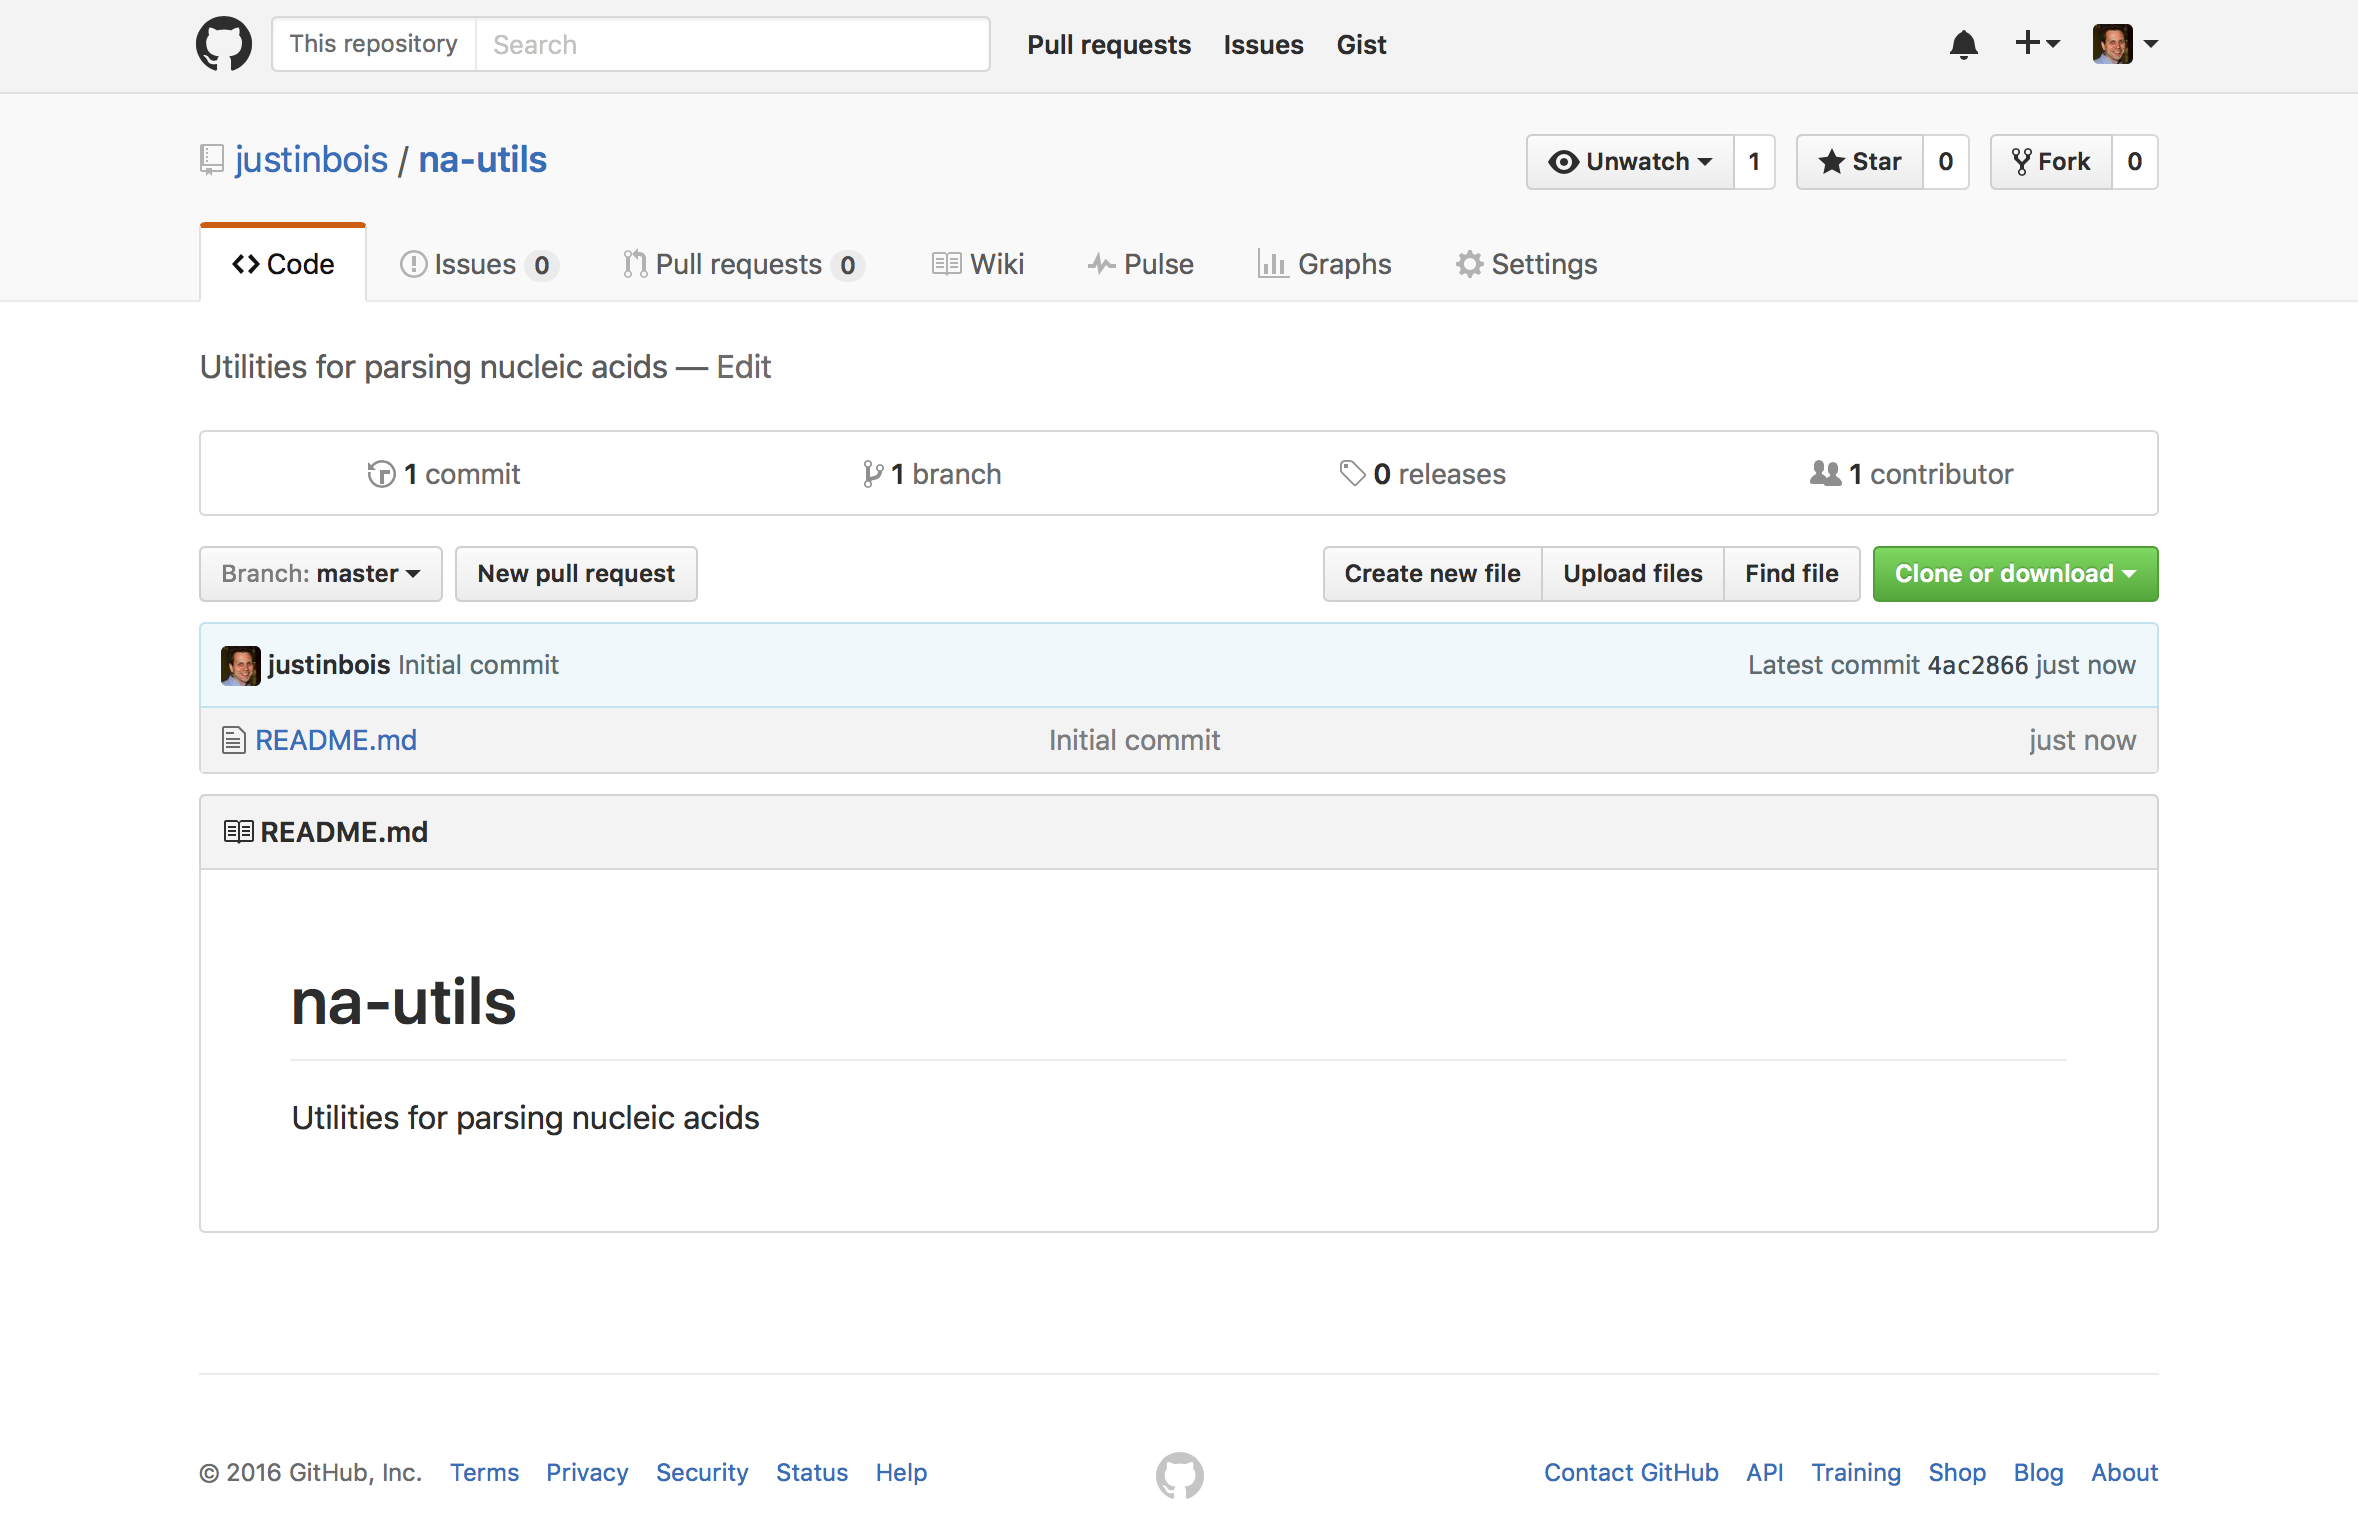
This is the main page for your repository. It is created! Right now, the repository only exists on GitHub. You need to clone it to get it on your own machine. To do that, click the "Clone or download" button and copy the web URL.
Now, it is time to clone your repository on your own machine. I think you know the drill. First, cd to your ~/git directory. Then do this:
git clone the_url_you_just_copied
If you now cd into the na-utils directory, you can see the README file there.
Adding files to your repository
Now, let's update the repository. We will add the dnatorna.py file you wrote in the last lesson. To do this, copy it out of the ~/git/bootcamp/ directory and into the ~/git/na-utils/ directory. On my machine, this is accomplished by:
cd ~/git/na-utils
cp ~/git/bootcamp/dnatorna.py ./
This instructs the operating system to copy the dnatorna.py file to the present directory. We verify that it is there by typing ls. So, it is in the repository, right? Let's ask Git. git status is a useful command that checks what is in the repository and in your working directory on your machine, and let's you know the status of all files and directories.
git status
The output looks like this:
On branch master
Your branch is up-to-date with 'origin/master'.
Untracked files:
  (use "git add <file>..." to include in what will be committed)

    dnatorna.py

nothing added to commit but untracked files present (use "git add" to track)
It tells us that there is an untracked file in the directory. We need to add it to the repository using the git add command.
git add dnatorna.py
We have now added a file! So, we have changed the repository.
Committing and pushing changes
Now, if we type git status, it tells use we have a new file. It says this new file is part of "changes to be committed." A commit is essentially a revision of a repository. It marks a point in the development of the repository that you want to mark. So, let's commit the present state of the repository.
git commit -m "Added DNA to RNA conversion module."
The -m after git commit specifies the commit message. This is a brief text that describes what has changed in the repository. Upon committing, the following is printed to the screen:
[master 3f7c321] Added DNA to RNA conversion module.
 1 file changed, 51 insertions(+)
 create mode 100644 dnatorna.py
The number 3f7c321 (yours will be different) is the short version of the commit identifier. If you ever want to go back to a previous version of the repository, this identifier will be a great help.
Now, the commit is still only on your local machine. In order for your collaborators (or the whole world, if it is a public repo) to have access to it, you need to push it. To do that, we do this:
git push origin master
Here, origin is a nickname for your remote repository, that is the one on your local machine. master is the name of the branch we are pushing to in the GitHub repository. I.e., it is the master copy. (We will not talk about git branches or branching in this tutorial.)
Now, let's look at our repository on GitHub. You can just refresh the main page of the repository. It now looks like this:

We now have our new file, dnatorna.py in the master repository, out there in the cloud for backup and for sharing.
In the next lesson, we will practice using Git, and in the process will fork and sync the bootcamp repository so you can work locally and still stay up to date on any edits the course staff makes in the repository.