Lesson 12: Forking and practice with Git
(c) 2016 Justin Bois. This work is licensed under a Creative Commons Attribution License CC-BY 4.0. All code contained herein is licensed under an MIT license.
This lesson was generated from a Jupyter notebook. You can download the notebook here.
In this lesson, you will practice using Git to enable you to work collaboratively.
Forking repositories
Let's say you want to do some work on a repository, but you are not an active collaborator. For example, there could be a useful package a lab at another university put on GitHub for a certain kind of image segmentation that is useful for your research. You want to do something almost exactly like the package does, but need to make some small modifications yourself. You want to clone the repository and add a couple functions and maybe modify one or two they already have, using much of the rest of the repository untouched. Of course, you also want to update your local copy of all that untouched (but still used) code when the maintainers update it.
This is kind of exactly what you want to do here in the Bootcamp. We have a repository that has data sets and a couple tutorials, but you want to write your Python code right in that repository. If I update the data sets, you want to be able to pull in my changes, but still have your code in place.
There is a nice way to do this called forking. To fork a repository on GitHub, simply navigate got the website of the repository and click the Fork button. Be sure you are logged in as yourself when you do this. Here is the GitHub page for the bootcamp.
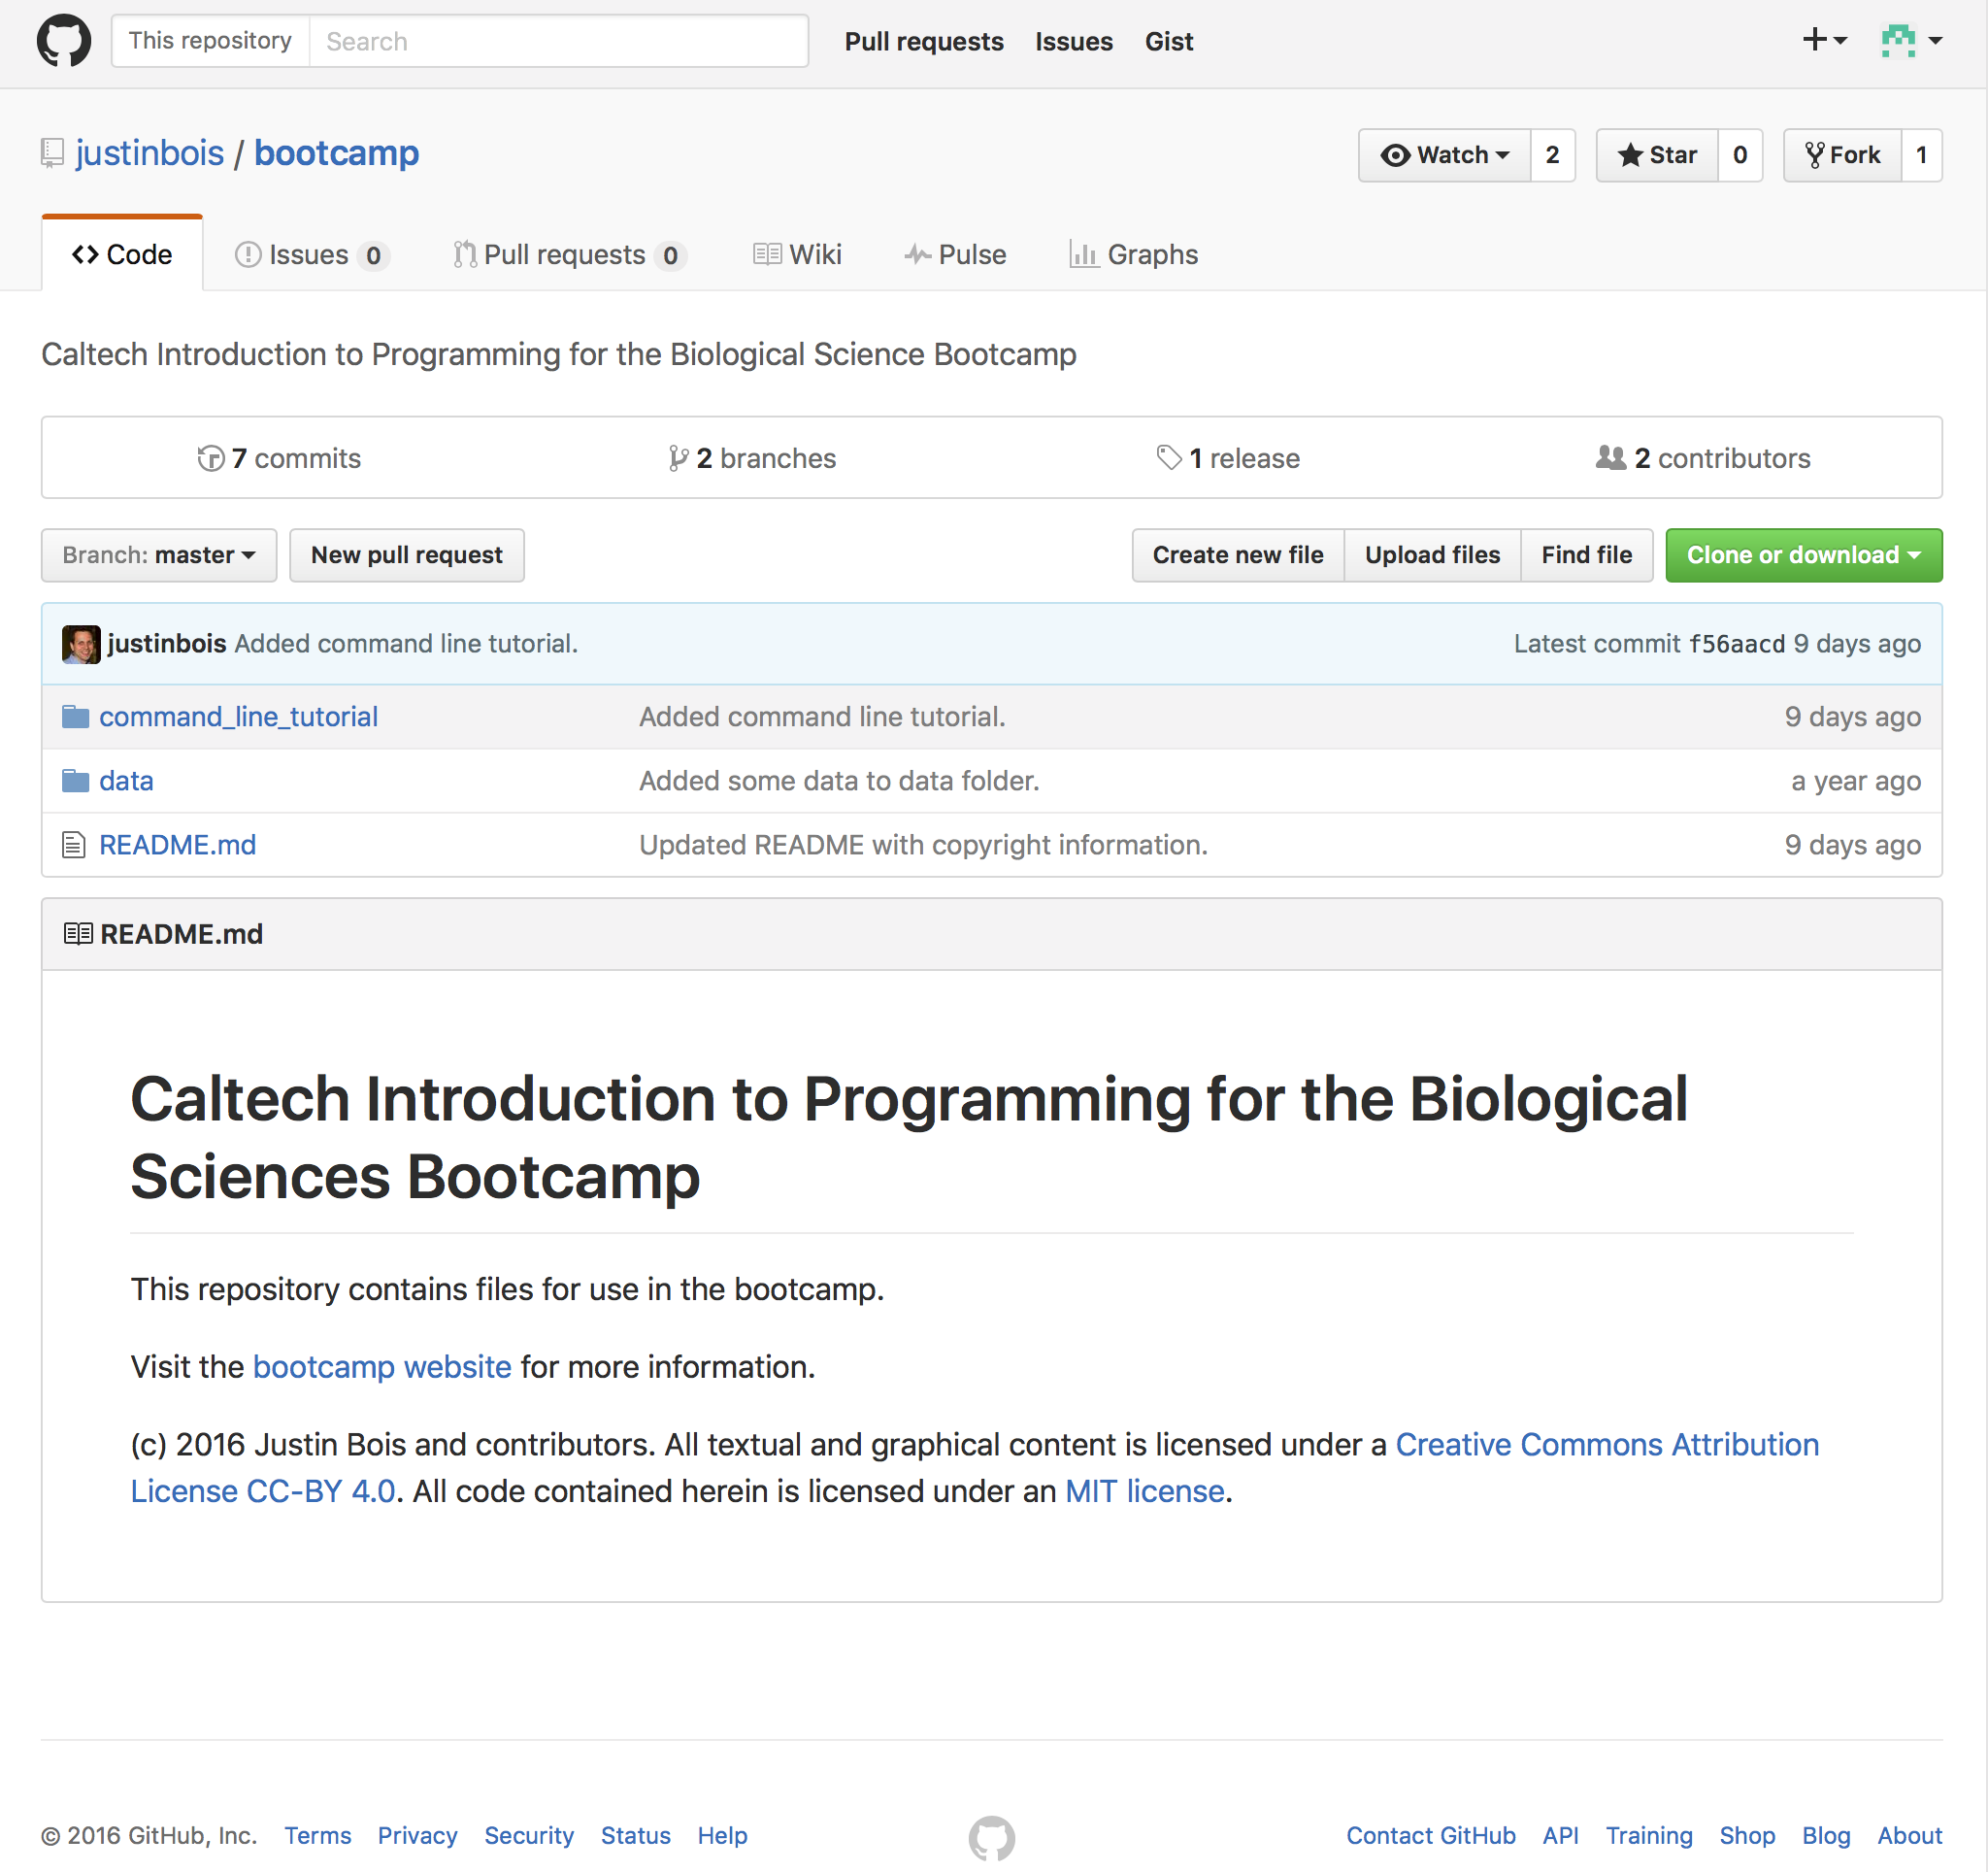
The fork button is in the upper right. Just click the button, and you now have a fork of the bootcamp repository on your GitHub account.
Cloning your fork to your local machine
Now you can clone your fork of the repository to your local machine. Since you will be editing things going forward in the repository, we will first blow away the bootcamp repository you mess around with yesterday in the command line tutorial. (Only execute the commands below if you didn't put any notes or anything you want to keep in the ~/git/bootcamp/ directory. Otherwise, you will lose it forever.)
cd ~/git
rm -Rf bootcamp
Now, being sure you are in the ~/git directory, you can clone your forked copy of the repository (not the original bootcamp repository). To do this, navigate your browser to the forked copy of the bootcamp repository on your account (this is where clicking the "Fork" button took you in your browser).
As you did before, click the green "Clone or download" button and copy the URL of the forked repository. Now, you can clone it.
cd ~/git
git clone the_url_you_just_copied
You now have a local copy of your own fork of the bootcamp repository. You can add files and edit it. When you commit and push, it will all be on your account, and the master repository will not see the changes.
Syncing your forked repository to the upstream repository
As I mentioned before, you want to be able to sync your repository with the original bootcamp repository so you can retrieve any updates in it. The original repository is typically called the upstream repository, since presumably you are changing it, so you are downstream. You want the upstream repository to be a remote repository, which is just what we call a repository we track and fetch and merge from. To see which repositories are remote, do
git remote -v
The -v just means "verbose," so it will also tell you the URLs. Entering that now will show a single repository, origin, which you can fetch from and push to.
We now want to add the upstream repository. To do this, copy the URL of the original bootcamp repository and then do:
git remote add upstream the_url_you_just_copied
Now try doing git remote -v, and you will see that you are now also tracking the upstream repository.
Now, when you want to pull from the upstream repository, you do
git pull upstream master
This will pull in all the changes from the upstream repository. If you want to pull in changes to your own forked repository, it's still just
git pullPractice 1: Adding a file to your bootcamp repository
For your first exercise using Git/GitHub, do the following.
- Copy the file
~/git/na-utils/dnatorna.pyto~/git/bootcamp/dnatorna.py. Remember the latter directory is home to your fork of the bootcamp repository. - Use
git addto put the filednatorna.pyunder version control. - Commit this change to your repository. Be sure to include an appropriate commit message with the
-mflag. - Push the file to your forked repository on GitHub.
- Do the same for any other
.pyfiles you created during the exercises last night.
Practice 2: Setting your PYTHONPATH
Since you will be doing all of your bootcamp work in the ~/git/bootcamp/ directory, you should set your PYTHONPATH environment variable. This tells the Python interpreter where to look for modules to import. To do this, add this line to your .bashrc file.
export PYTHONPATH=${PYTHONPATH}:$HOME/git/bootcamp
With that added, you no longer have to make sure you are in the ~/git/bootcamp/ directory when running your Python modules.
Practice 3: Edit your file and git diff it
In your dnatorna.py file, the doc strings do not mention that the returned sequences have the same capitalization (either lower case or upper case) as the input sequence.
- Update the doc strings to say this using Atom and save the file.
- Type
git statusat the command line. What do you see? - On the command line, do
git diff. What do you see? The last few lines are most important; they tell you what has changed.git diffis very useful. It tells you what local changes you have made to your document since the last commit. - If you are satisfied with your changes,
git addthe file,git committhe changes, andgit push origin masterto push them to your GitHub (remote) repo.