Lesson 0: Configuring your computer
In this lesson, you will set up a Python computing environment for scientific computing. There are two main ways people set up Python for scientific computing on their own machine.
By downloading and installing package by package with tools like apt-get, pip, etc.
By downloading and installing a Python distribution that contains binaries of many of the scientific packages needed. One widely used distribution is from Anaconda.
In this class, we will use Anaconda, with its associated package manager, conda. It has become the de facto package manager/distribution for scientific use.
Why install on my own machine?
We toyed with using Google Colab for the bootcamp, and we may in fact encourage you to use it when you are working on exercises. This offers many advantages.
You get a dedicated powerful machine that is part of Google’s cloud resources for your computing.
Most of what you need is pre-installed.
You can easily share the notebook with collaborators in near-real time.
It is free!
There are many more advanced features that are not covered in the bootcamp, such as easy GPU computing.
We chose not to do this for several reasons, the first being the most important.
It is important that you learn how to set up your own machine, including using the command line.
If you want to control physical devices, you need to be running on a local machine.
Unless you have a pro account (not free), your Colab instance will shut down after a period of latency.
It is not as easy to integrate into your own software development pipeline.
Along those same lines, it is not as easy to install custom software, or software that you write, using Colab as it is on your own machine.
You may also want to use other cloud computing resources like AWS, Microsoft Azure, or Caltech’s HPC. We are not using those because we do not need more computing power than is available on a standard laptop. Furthermore, setting up your own machine will help prepare you for setting up instances on those services.
Before we get rolling with the Anaconda distribution on your own machine, we have some considerations and installations to get out of the way first.
macOS users: Install Command Line Tools
If you are using macOS, you should install Command Line Tools. This is a set of utilities, such as compilers and (most importantly for this bootcamp) Git. You could install it along with the very bloated software XCode, but we will not do that to save on the ≈35 GB of disk space that XCode will consume.
To install Command Line Tools, open the Terminal application. It is typically in the /Applications/Utilities folder. Otherwise, hit ⌘-space bar and type terminal in the search box, and select the Terminal Application. Once you have a prompt in the Terminal application, type
xcode-select --install
and hit enter. You will be prompted for the installation, and you should go ahead with it. It may take several minutes for the installation to complete.
Windows users: Install Git and Chrome or Firefox
We will be using JupyterLab in the bootcamp. It is browser-based, and Chrome, Firefox, and Safari are supported. Microsoft Edge is not. Therefore, if you are a Windows user, you need to be sure you have either Chrome of Firefox installed.
You also need to install Git. You can do this by following the instructions here.
Downloading and installing Anaconda
Downloading and installing Anaconda is simple.
Go to the Anaconda’s download page and click the Download button.
Follow the on-screen instructions for installation. While doing so, be sure that Anaconda is installed in your home directory (which is the default), not in root.
That’s it! After you do that, you will have a functioning Python distribution.
Installing node.js
node.js is a platform that enables you to run JavaScript outside of the browser. We will not use it directly, but it needs to be installed for some of the more sophisticated JupyterLab functionality. Install node.js by following the instructions here.
Setting up a conda environment
As we will discuss in a future lesson on packages, it is important to organize your packages using a package manager. We will be using Conda, which is included in Anaconda. For convenience (and as I highly recommend) one can set up a conda environment which has all of the packages you need to a specific tasks (and seldom more than what you need). I have made such a package for this bootcamp.
To set up the bootcamp conda environment, first, download the YML specification for the environment:
Now, launch the Anaconda Navigator, which should be installed with Anaconda. If you are using macOS, Anaconda Navigator will be available in your Applications menu. If you are using Windows, you can launch Anaconda Navigator from the Start menu.
When the Navigator window opens, select Environments on the left menu pane. Upon selecting Environments, you will see a pane immediately to the right of the Home/Environments/Learning/Community pane with a Search Environments window at the top. At the bottom of that pane, click Import. In the window that pops up, click on the folder icon under Local drive. Find the bootcamp.yml file you just downloaded. Click Import. It may take some time for the
environment to be imported and built.
Launching JupyterLab and a terminal
We will be using JupyterLab throughout the bootcamp (more on that in Lesson 1). You can alternatively launch JupyterLab via the Anaconda Navigator or via your operating system’s terminal program (Terminal on macOS and PowerShell on Windows). If you wish to launch using the latter, skip to the next section.
In the Anaconda Navigator, click Home on the left pane. To the right, you will have a pane from which you can launch JupyterLab. On the top of the right pane, you will see two pulldown menus separated by the word “on.” Be sure you select bootcamp on the right pulldown menu. This ensures that you are using the bootcamp environment you just set up.
You need to make sure you are using the bootcamp environment whenever you launch JupyterLab during the bootcamp.
You should see a card for JupyterLab. Do not confuse this with Notebook; you want to launch JupyterLab. Click Launch on the JupyterLab card. This will launch JupyterLab in your default browser.
Within the JupyterLab window in your browser, you will have the option to launch a notebook, a console, a terminal, or a text editor. We will use all of these during the bootcamp. For the updating and installation of necessary packages, click on Terminal to launch a terminal. You will get a terminal window (probably black) with a bash prompt. We refer to this text interface in the terminal as the command line. You can alternatively use Terminal for macOS or PowerShell for Windows for
interfacing with the command line, but many students find it convenient to do so via JupyterLab.
Launching JupyterLab from the command line
While launching JupyterLab from the Anaconda Navigator is fine, I generally prefer to launch it from the command line on my own machine. If you are on a Mac, open the Terminal program. You can do this hitting Command + space bar and searching for “terminal.” Using Windows, you should launch PowerShell. You can do this by hitting Windows + R and typing powershell in the text box.
Once you have a terminal or PowerShell window open, you will have a prompt. At the prompt, type
conda activate bootcamp
This will ensure you are using the bootcamp environment you just created.
You need to make sure you are using the bootcamp environment whenever you launch JupyterLab during the bootcamp, so you should do conda activate bootcamp each time you open a terminal.
Now that you have activated the bootcamp environment, you can launch JupyterLab by typing
jupyter lab
on the command line. You will have an instance of JupyterLab running in your default browser. If you want to specify the browser, you can, for example, type
jupyter lab --browser=firefox
on the command line.
It is up to you if you want to launch JupyterLab from the Anaconda Navigator or command line.
Setting up Git
Git features heavily in the bootcamp. We use it for version control and also for sharing files, data, and code we will use in the bootcamp.
Set up a GitHub account
Go to http://github.com/ to get an account. You should register with your academic email address so you get free private repositories as academics. You should also think carefully about picking your user name. There is a good chance other people in your professional life will see this.
Set up your token
You will need to set up a token to be used to access GitHub via the command line. To do so, complete these instructions.
Forking the bootcamp repository
Let’s say you want to do some work on a project with code stored in a repository, but you are not an active collaborator. For example, there could be a useful package a lab at another university put on GitHub for a certain kind of image segmentation that is useful for your research. You want to do something almost exactly like the package does, but need to make some small modifications yourself. You want to clone the repository and add a couple functions and maybe modify one or two they already have, leaving much of the rest of the repository untouched. Of course, you also want to update your local copy of all that untouched (but still used) code when the maintainers update it.
This is kind of exactly what you want to do here in the bootcamp. We have a repository that has data sets and a couple tutorials, but you want to write your Python code right in that repository. If I update the data sets, you want to be able to pull in my changes, but still have your code in place.
There is a nice way to do this called forking. To fork a repository on GitHub, simply navigate got the website of the repository and click the Fork button. Be sure you are logged in as yourself when you do this. Click this link to go to the GitHub page for the bootcamp.
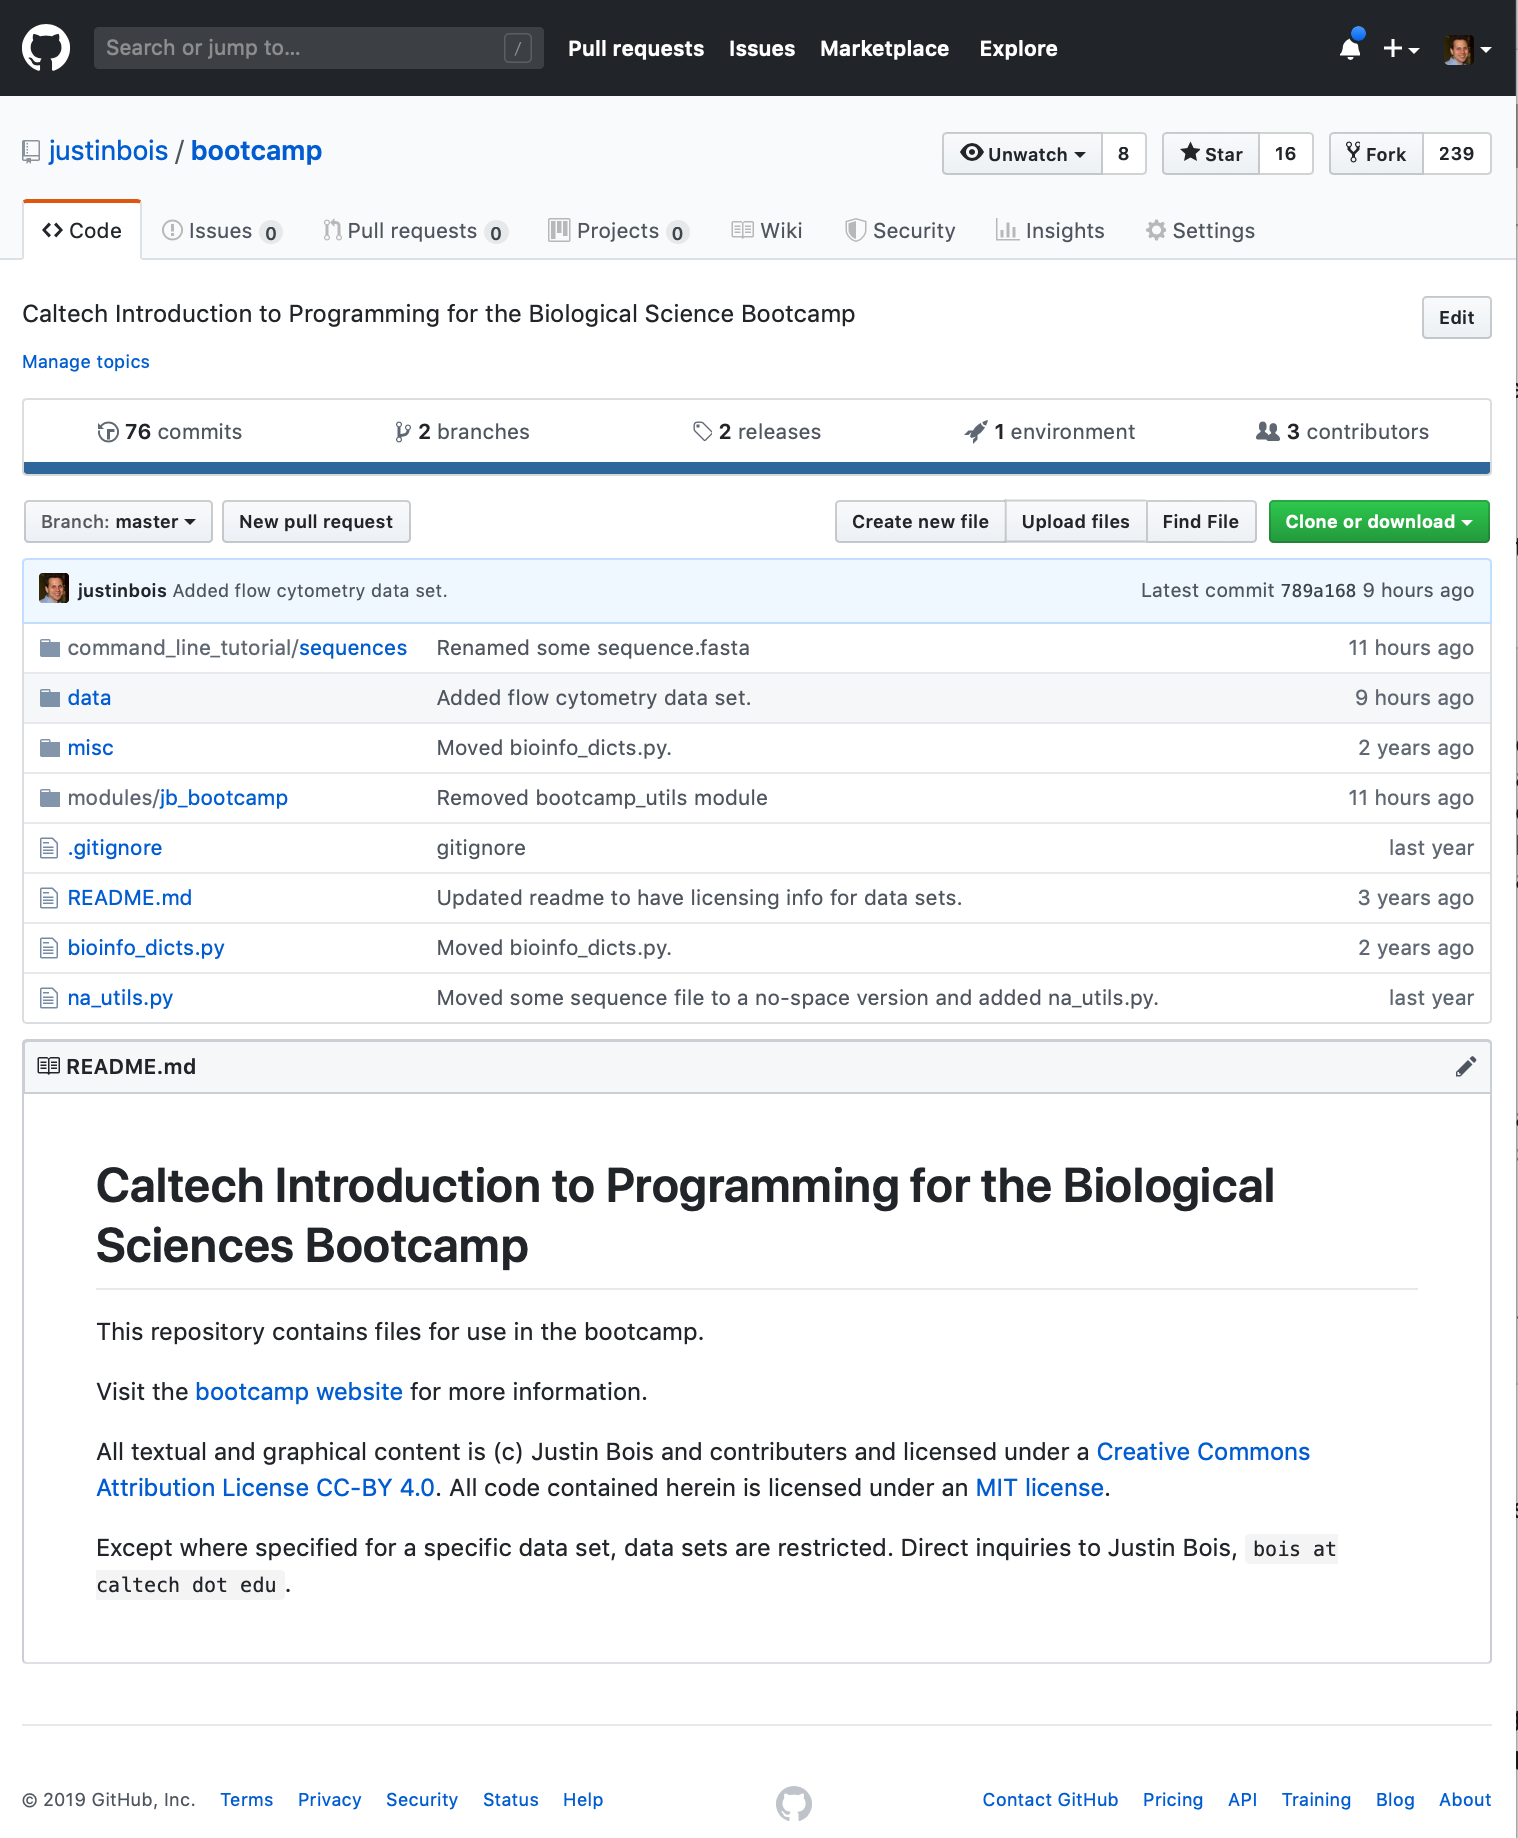
The fork button is in the upper right. Just click the button, and you now have a fork of the bootcamp repository on your GitHub account.
Cloning your fork to your local machine
Now you can clone your fork of the repository to your local machine. We will keep all of your material under version control in a directory called git in your home directory. Do the following on the command line.
mkdir -p ~/git
Now you can clone your forked copy of the repository (not the original bootcamp repository). To do this, navigate your browser to the forked copy of the bootcamp repository on your account (this is where clicking the “Fork” button took you in your browser). The browser URL will be: https://github.com/yourusername/bootcamp, and the top left of the website will say “yourusername/bootcamp forked from justinbois/bootcamp,” like below for user cgoecknerwald.
Click the green Code button (shown below) and copy the URL of the forked repository.
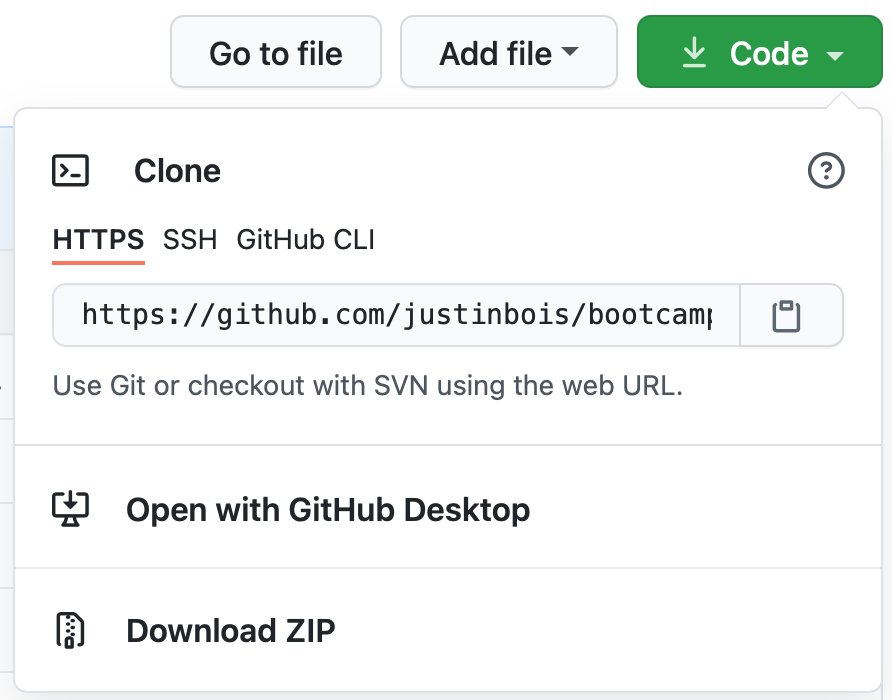
Now, you can clone it by doing the following on the command line, making the obvious substitution for the_url_you_just_copied.
cd ~/git
git clone --depth 5 the_url_you_just_copied
You now have a local copy of your own fork of the bootcamp repository. You can add files and edit it. When you commit and push, it will all be on your account, and the original repository will not see the changes. (Don’t worry if you do not understand all of this now; we will cover it all in subsequent lessons.)
Syncing your forked repository to the upstream repository
As I mentioned before, you want to be able to sync your repository with the original bootcamp repository so you can retrieve any updates in it. The original repository is typically called the upstream repository, since presumably you are changing it, so you are downstream. You want the upstream repository to be a remote repository, which is just what we call a repository we track and fetch and merge from. To see which repositories are remote, do the following on the command line.
cd bootcamp
git remote -v
The -v just means “verbose,” so it will also tell you the URLs. Entering that now will show a single repository, origin, which you can fetch from and push to. In your case, origin your fork of the bootcamp repository.
We now want to add the upstream repository. To do this, add the original bootcamp repository as the upstream repository.
git remote add upstream https://github.com/justinbois/bootcamp.git
Now try doing git remote -v, and you will see that you are now also tracking the upstream repository.
Checking your distribution
We’ll now run a quick test to make sure things are working properly. We will make a quick plot that requires some of the scientific libraries we will use in the bootcamp.
Use the JupyterLab launcher (you can get a new launcher by clicking on the + icon on the left pane of your JupyterLab window) to launch a notebook. In the first cell (the box next to the [ ]: prompt), paste the code below. To run the code, press Shift+Enter while the cursor is active inside the cell. You should see a plot that looks like the one below. If you do, you have a functioning Python environment for scientific computing!
[1]:
import numpy as np
import bokeh.plotting
import bokeh.io

bokeh.io.output_notebook()

# Generate plotting values
t = np.linspace(0, 2 * np.pi, 200)
x = 16 * np.sin(t) ** 3
y = 13 * np.cos(t) - 5 * np.cos(2 * t) - 2 * np.cos(3 * t) - np.cos(4 * t)

p = bokeh.plotting.figure(height=250, width=275)
p.line(x, y, color="red", line_width=3)
text = bokeh.models.Label(x=0, y=0, text="bootcamp", text_align="center")
p.add_layout(text)

bokeh.io.show(p)
Shutting down JupyterLab
It is important to shut down JupyterLab when you are done. Otherwise, you will have JupyterLab running in the background on your machine after you have closed the browser window. I have seen students with more than 20 instances of JupyterLab running on their machines!
To shut down JupyterLab, click File ⟶ Shut Down. Note that this is the File menu within the JupyterLab tab of your browser, not the File menu for the browser itself.
Installation of the Arduino IDE
In an auxiliary lesson (not covered during the bootcamp, but you can work through it yourself), we will use an Arduino Uno board as we learn to control external devices. To enable us to program and use the device, you should download and install the Arduino IDE, available here: https://www.arduino.cc/en/software.
Computing environment
[2]:
%load_ext watermark
%watermark -v -p numpy,bokeh,jupyterlab
Python implementation: CPython
Python version       : 3.11.3
IPython version      : 8.12.0

numpy     : 1.24.3
bokeh     : 3.1.1
jupyterlab: 3.6.3